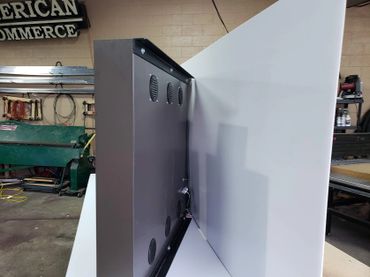

Typical Sample Installation
LED Sign Installation Features and Details
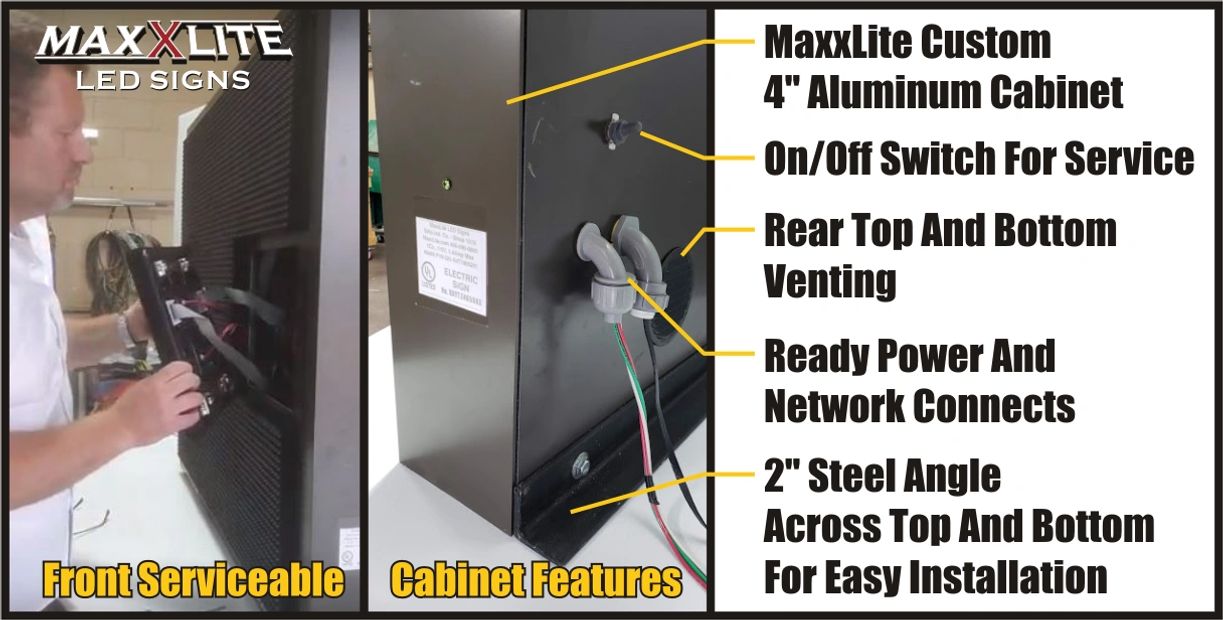
MaxxLite LED Signs are engineered and manufactured for easy installation.
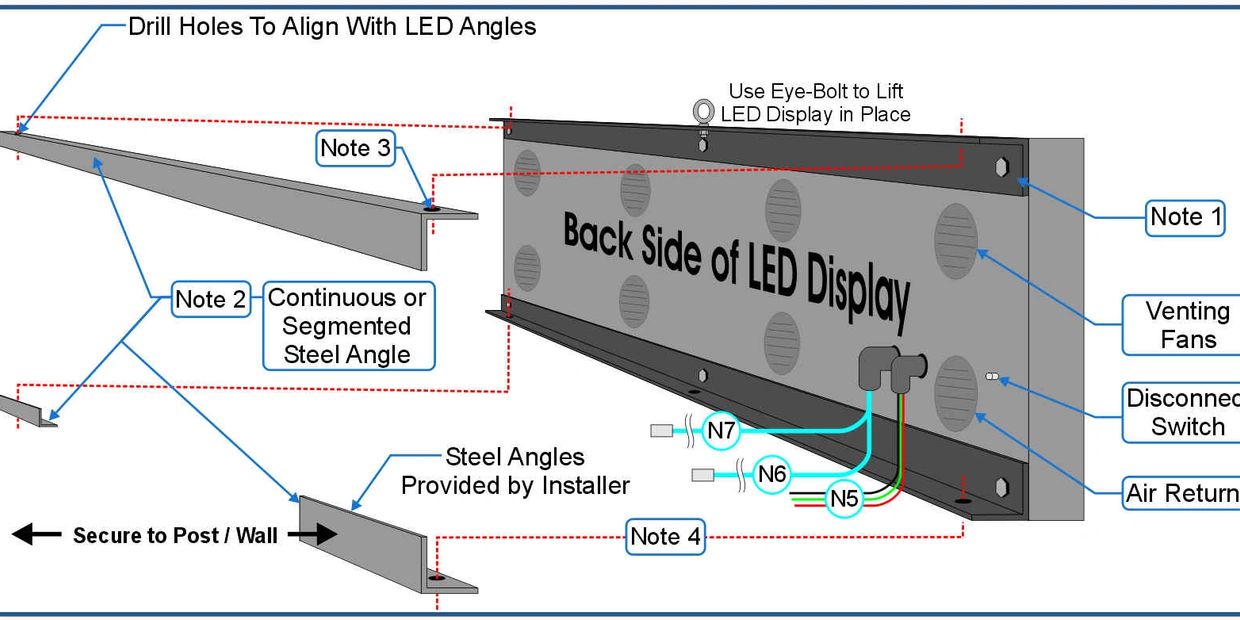
Our cabinets include 2" steel mounting angles across the top and bottom of the back side.
Simply align with mating angles or brackets and fasten. Mounting angles can also be welded directly to posts. Power disconnects, wireless cable, jumper cable, and power cables are all ready to connect without tedious labor and costly retrofits.
MaxxLite LED Sign cabinets come ready to be connected by a Local Licensed Electrical Contractor.
Issues can be avoided when all electrical work is performed by a Licensed Electrical Contractor that understands local ordinances. Proper grounding and load ratings must be applied.
Note 1. MaxxLite LED Sign cabinets come ready with mounting angle brackets.
Note 2. Cut receiving angle(s) to length & secure to posts or wall using appropriate fastening methods.
-Measure spacing so that the LED steel angle rests comfortably onto the steel mounting angle(s).
-Steel Angle should be 2" x 2" x 3/16" wall minimum,
-Be sure all steel angles are level.
Note 3. Drill matching holes in mounting angles and LED Angles
Note 4. Seat LED display onto mounting angles & bolt together. Washers & locking washers are necessary.
Note 5. Make electrical connections per local ordnance provide proper and dedicated power / grounding
Note 6. Connect wireless network cable to transmitter & point towards source.
Note 7. Double Sided Display: Connect network jumper cable to secondary side.
Installation Support
MaxxLite LED Signs is committed to supporting you during all phases of your sign installation. We can help you with sketches and drawings to make your installation go smoothly.
A Closer Look


Copyright © 2025 MaxxLite LED Signs, A Sitto Industries Company - Manufacturing Quality Since 1976 - All Rights Reserved.